The United Nations has come up with a special International Day of Friendship which falls on July 30, followed by the first Sunday of August which the kids generally mark every year as Friendship Day. Come August and friendship bands or friendship bracelets as they are commonly called are in high demand among the kid folk. The person who flaunts the largest number of bracelets on his/her wrist is the unproclaimed winner!
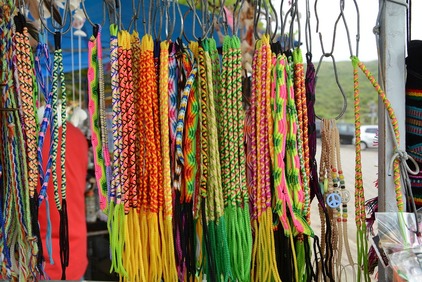
Here’s a simple and colorful interwoven friendship bracelet activity that will be fun to do with your kids to come up with the large number of bracelets he/she would require for their special day with friends.
What you need:
What to do:
What you need:
- A cardboard (a small square-shaped one would do)
- A pair of scissors
- A round object (say, a glass or a bangle)
- A pencil
- 3 different colors of embroidery string
What to do:
- Place the glass or bangle on the center of the cardboard and draw its outline with the pencil.
- Cut out the circle with the scissors.
- Mark the approximate center of the circle with the pencil. Insert the nib of the pencil at this center to make a small hole at this marked center.
- Make 6 little markings on the circumference of the circle, roughly equal distances apart (so as to form a hexagon of sorts).
- Using the scissors, make cuts of about half an inch along the 6 markings you’ve made around the outer edge of the cut-out circle of cardboard.
- Now, cut the three different colors of embroidery string together into around 22-25 inches long sections (depending on how many bracelets you wish to make). The three together will make one bracelet.
- Fold the strings in half and knot them together a little away from one end.
- There will be 6 strings coming out from one end of the loop. Cut off one near the knot so that 5 remain.
- Now push the knot through the center of the cardboard (where we had poked a hole earlier).
- Next, randomly arrange the threads around the circle through the half-inch cuts done on the sides. The strings will be inserted in the 5 cuts and 1 cut along the side should remain free.
- Now, rotate the cardboard and in turn, place the diametrically opposite thread to the empty cut into the empty cut. Keep repeating the procedure and you’ll notice a colorful woven loom coming up on the other side of the cardboard.
- Once you feel the length of the woven part is enough, simply release all the strings from the cuts and take them off the cardboard circle and make a little knot at the end with the loose strings.
 RSS Feed