Teaching science in the traditional classroom environment can be a drag sometimes. It’s important to liven up things occasionally so teachers are always looking for innovative ideas they can use to keep students hooked to science. Here’s a great one – why not challenge your students to make their own science game? Better still - why not challenge them to see who can make the best science game? Making a board game for science is an interesting process and we can show you how it’s done. It’s fun, educational and a great way to turn a boring lesson into something gripping! Here’s how you go about it:
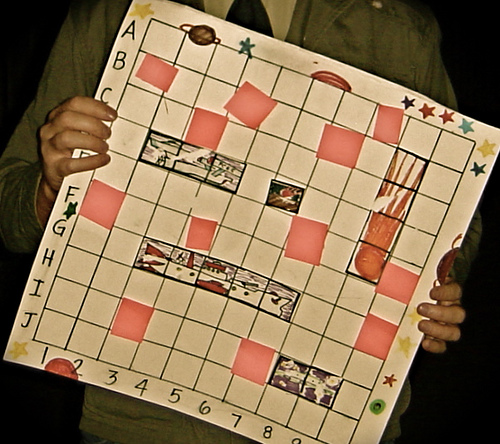
Image Source - Davidd
Rules to Design a Science Game
1. Define the pattern and establish the rules
There are various templates you can use to design your game – it could be like Monopoly where correct answers win you bills. Only difference between your science game and Monopoly is, instead of trading hotels and restaurants, you have lab coats, chemistry kits, laboratories and other stuff that a scientist would consider important. Or you could follow the Snakes and Ladders template and create bonus zones where players win extra points and risk zones where they lose points. Earning points gets players closer to their goal. Your template depends upon what aspect of science you focus on – a science game dealing with animal anatomy, for instance, will have a different template from one that deals with the periodic table.
2. Identify the players’ skill level
Once you define the pattern and establish the rules, it’s time to identify your players’ skill level. If the game is aimed at middle school chemistry students, the questions must be based on the concepts that this category is familiar with. It is important to be very specific at this point – designing a science game without identifying the players’ skill level can confuse and bore them.
3. Set up a scoring system
This should be in accordance with the pattern and rules of the game. If you follow the Monopoly template, the player with the maximum number of points wins. Alternatively, the winner could be the one who finishes the game first. Want to spice up the game a bit? Add wild cards. If your game is based on physics, add wild cards related to biology or computers, or any other branch of science. Wild cards certainly add the thrill factor to a science game!
4. Create the game
Now that your game has crossed the conceptual stage, it’s time to give it concrete shape. Take a square piece of thick cardboard and cover it with construction paper. Create a path for players using crayons, markers or different colors of construction paper. Use construction paper to create question cards based on your topic. Linking the tokens to the theme would be a nice touch. For a science game about the human anatomy, for example, you could use Lego figures as tokens; a nature game could have twigs as tokens; you get the idea?
Write the rules on the board so everyone can see them.
Your science game is ready to go!
 RSS Feed