Bunnies are cuddly,
The large and the small,
But I like chocolate ones,
The best of them all!
The large and the small,
But I like chocolate ones,
The best of them all!
Well, that’s because when it comes to anything sweet, chocolate is right on top of my mind. My daughter seems to have taken after me too, in the chocolate department.
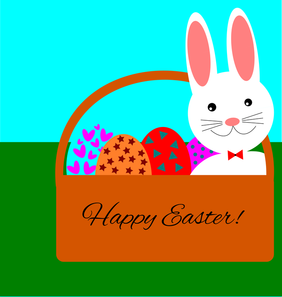
Talking about cuddly bunnies brings to mind Easter which is right around the corner. Here is an interesting article I found that talks about the origins of (chocolate) Easter eggs and how Easter bunnies came into being. And for those of you who do not consider themselves to be too much of the crafty sort, here are two simple Easter bunny crafts for you and your kids.
Talking about cuddly bunnies brings to mind Easter which is right around the corner. Here is an interesting article I found that talks about the origins of (chocolate) Easter eggs and how Easter bunnies came into being. And for those of you who do not consider themselves to be too much of the crafty sort, here are two simple Easter bunny crafts for you and your kids.
Paper Plate Easter Bunnies
This is such a simple DIY craft that even toddlers and preschoolers can pitch in to help. Here’s what you need – paper plates (small or big, both work well), googly eyes (not essential), thick cardboard or construction paper, some straws (for the bunny’s whiskers), cotton balls (brightly colored if possible, for the nose) and glue. Begin by taking 3-4 straws and twisting them around each other at a common center (a bit of transparent adhesive tape can be used to keep them in place). Glue it at the center of the back side of the plate. Once the glue dries up, stick on the cotton ball for the nose at the center intersection of the straws.
Next come the ears – here’s where construction paper or cardboard comes into use. Using a blunt pair of scissors, ask your kids to cut out two ear-shaped bits and then glue them on adjacent to each other at the top. The kids can also color in them to make it an Easter rabbit with colorful ears. Finally, simply stick on googly eyes if you have them or else just ask your little ones to draw the eyes as well as the smiling mouth using a black marker.
Egg Carton Easter Bunnies
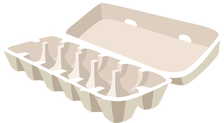
All of us have old cardboard egg cartons that we usually end up throwing away in the trash. Well, those very cartons can be recycled to make cute-looking Easter bunnies! All you need – egg cartons (of course), cardboard or construction paper, cotton, glue, marker pens (black and white), paint, a blunt pair of scissors and Easter eggs. Cut apart the carton into individual egg holders and ask your little ones to paint them entirely (both inside and out) in their favorite colors. Once the paint is dry, cut out the bunny rabbit ears from the cardboard or construction paper (like before, only smaller in size) and glue them to the inside back side of the individual cup, with their upper ends sticking out outside the cup.
A small ball of cotton for the nose and a bigger and rounder ball of cotton for the tail should be stuck on at the front and back sides respectively. Draw out eyes or stick on googly eyes again and use a white marker to add whiskers to your bunny. Pop in the Easter egg and your bunny rabbit is ready!
Do have a look at this collection of Easter activities for kids too. It has fun activities, coloring pages for younger kids, games and even interesting Easter worksheets. Happy Easter, everyone!


 RSS Feed